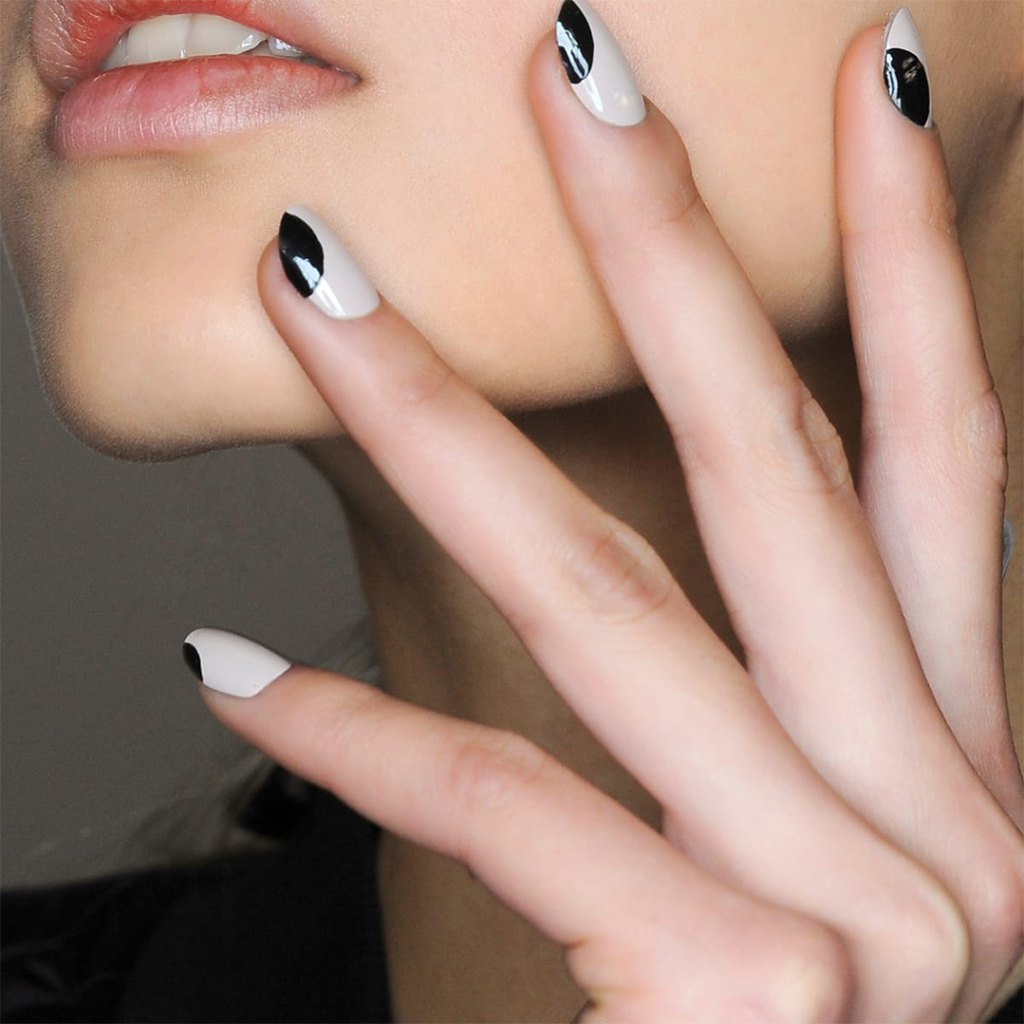
If you are a fashionista and into pretty nails, you might be looking to buy OPI gel colors, which, by the way, are an excellent choice for manicure enthusiasts. Even if you are a beginner and don’t want to spend loads of money in a nail salon, you can make good use of the OPI gel kit and have your nails done professionally.
Before we proceed to the essential steps of applying OPI gel colors, let us have a look at what makes the OPI gel different from the traditional acrylic nails.
What are OPI Gel Colors?
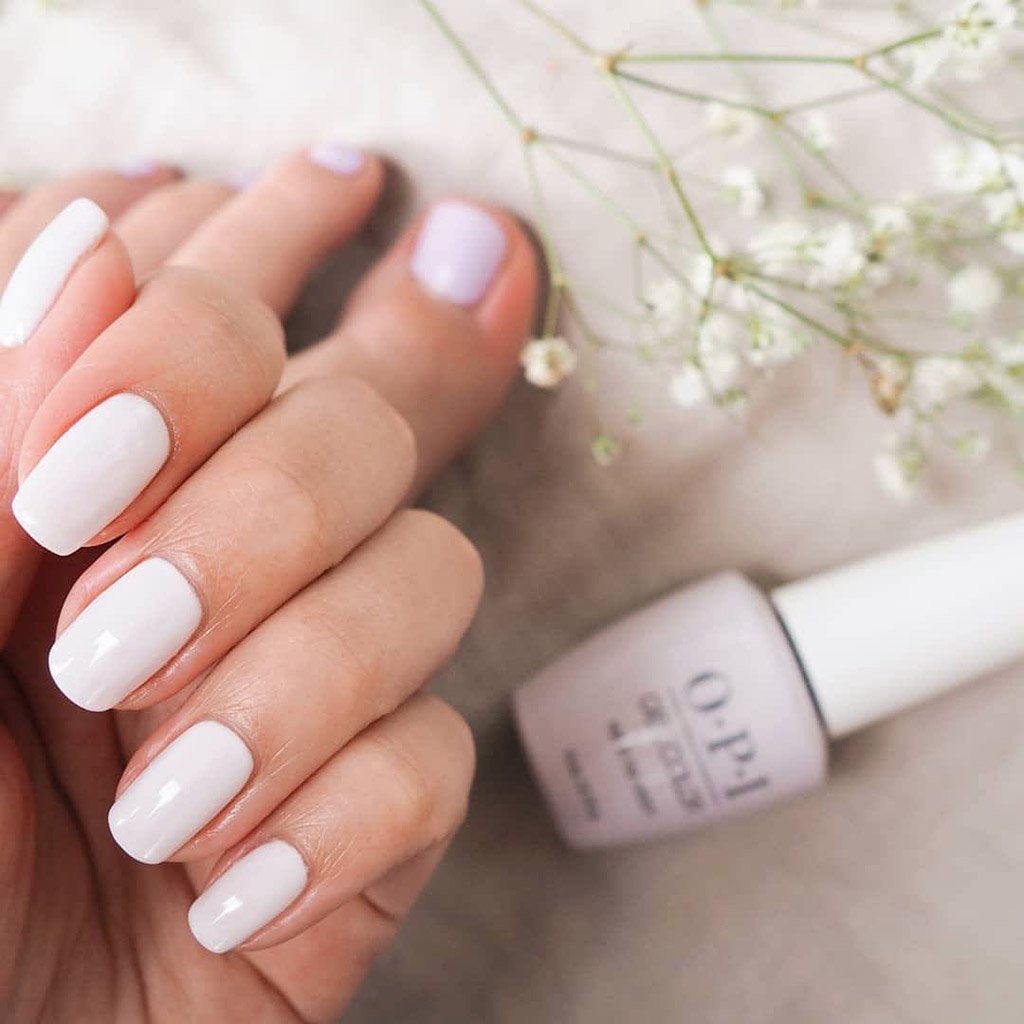
For anyone looking for a long-lasting, glossy, and shiny manicure, we recommend buying OPI gel colors. You have a wide variety of colors, shades, and hues to choose from. Also, your nails’ health won’t get affected by the application. The OPI gel colors application process is easy, the colors are glossy and shiny. With good after-care, you can make your manicure last longer than three weeks. In contrast to acrylic nails, the OPI can be applied on short nails too.
If you are into long and uniquely shaped nails, you ought to go for the traditional acrylic manicure. However, if you want to avoid brittle, damaged, and weak nails, we recommend you to buy OPI gel colors, which can be perfectly applied on short nails too. Additionally, you can have the perfect DIY manicure at home and get a professional finishing of your nails without spending tons of money on nail salons.
Here is how to apply OPI Gel Polish at home and have the perfect manicure with a professional look.
How to apply OPI Gel Polish at home
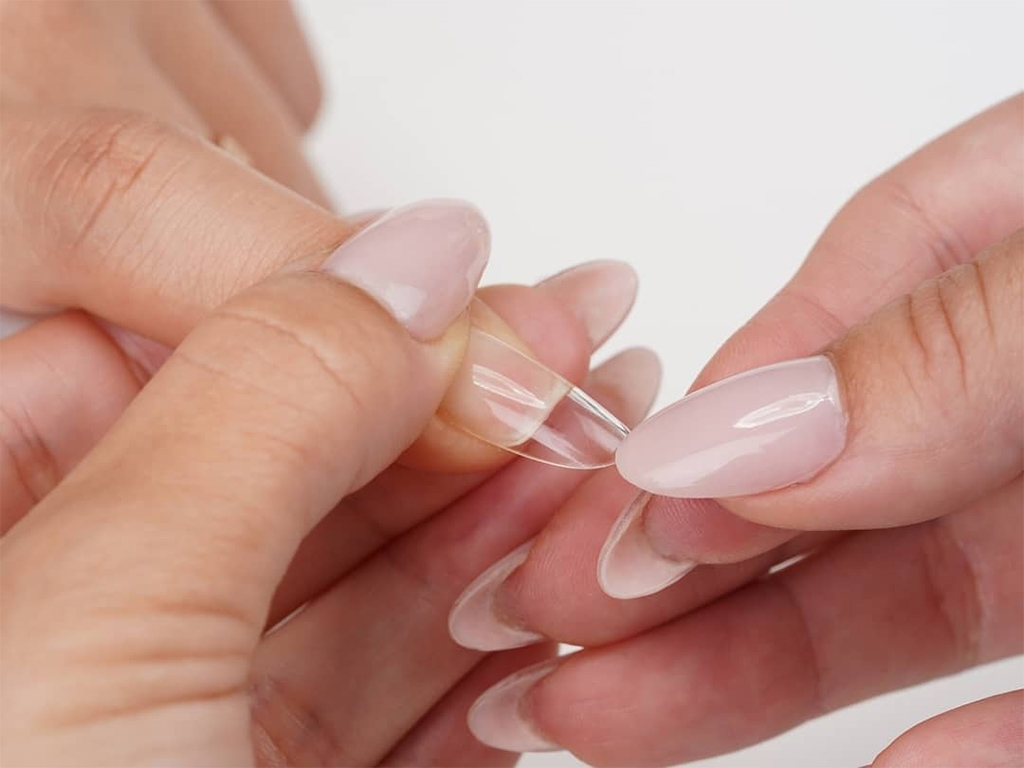
Prepping Your Nails
Before you start with your manicure, you need to get your nails in the best shape. You need all essential tools, such as nail cutters, nail files, cuticle pusher, nail buffer, cuticle, etc. Also, before you apply the base coat and start prepping your nails, make sure to remove your previous nail colors, and get the surface of your nails ready for the base coat. After filing your nails, make sure to wipe your nails with a lint-free wipe for a flawless application of the base coat.
Applying the Case Coat
If this is your first time indulging in a DIY manicure, you will find the guidelines enclosed in the OPI gel kit. Make sure to follow the guidelines. Nonetheless, in the absence of guidelines, you can proceed to apply the base coat onto your prepped nails. Shake the base coat for at least one minute before applying. This will ensure the content of the base coat is fully dispersed. Next, ensure that you apply a thin layer of base coat on your nails. Don’t forget to cap the edges of your nails, as this will prevent brittle nails and ensure that the manicure lasts longer (at least 3 to 4 weeks).
Applying the OPI Gel Colors
After you have applied the base coat, you must cure your nails to ensure that the base coat sticks to the nails. Preferably, you should cure all nails at least for 30 seconds before moving on to the next application. More importantly, after applying each coat/ layer, make sure to clean the skin surrounding the nail before curing your nails.
Now it is time to apply the OPI gel colors. Shake the content of your desired OPI gel colors for at least one minute before the application. Don’t forget to cap the free edges and cure the nails after the application. Depending on the OPI gel kit that you purchased, you can find a UV/ LED light in the kit. But, you can always buy it independently and cure your nails after each application. While applying the OPI gel colors, you can also apply two thin coats. Nonetheless, ensure to cap the free edges to make the manicure long-lasting, shiny, and glossy.
Applying the Base Coat
After you have cured the second application of the OPI gel colors, it is time to apply the base coat. Again, shake the content of the OPI base coat to ensure that the content is dispersed evenly before application. The base coat is an essential step and it shouldn’t be skipped if you are looking for a shiny, glossy, and professional finishing touch. Don’t forget to cap the free edges of your nails and cure your nails for the last time in the LED light.
Conclusion
As the final step of applying OPI gel polish, don’t forget to apply cuticle oil on your nails and cuticles to keep them moisturized. Also for a luxurious buy OPI gel nail polish experience, we recommend investing in a good, scented, and hydrating hand crème, which will give your hands a velvety feel and touch. With good after-care, your OPI gel manicure is all set to last for more than four weeks. You won’t have to worry about chipped and brittle nails as the OPI gel nail colors are safe to use.