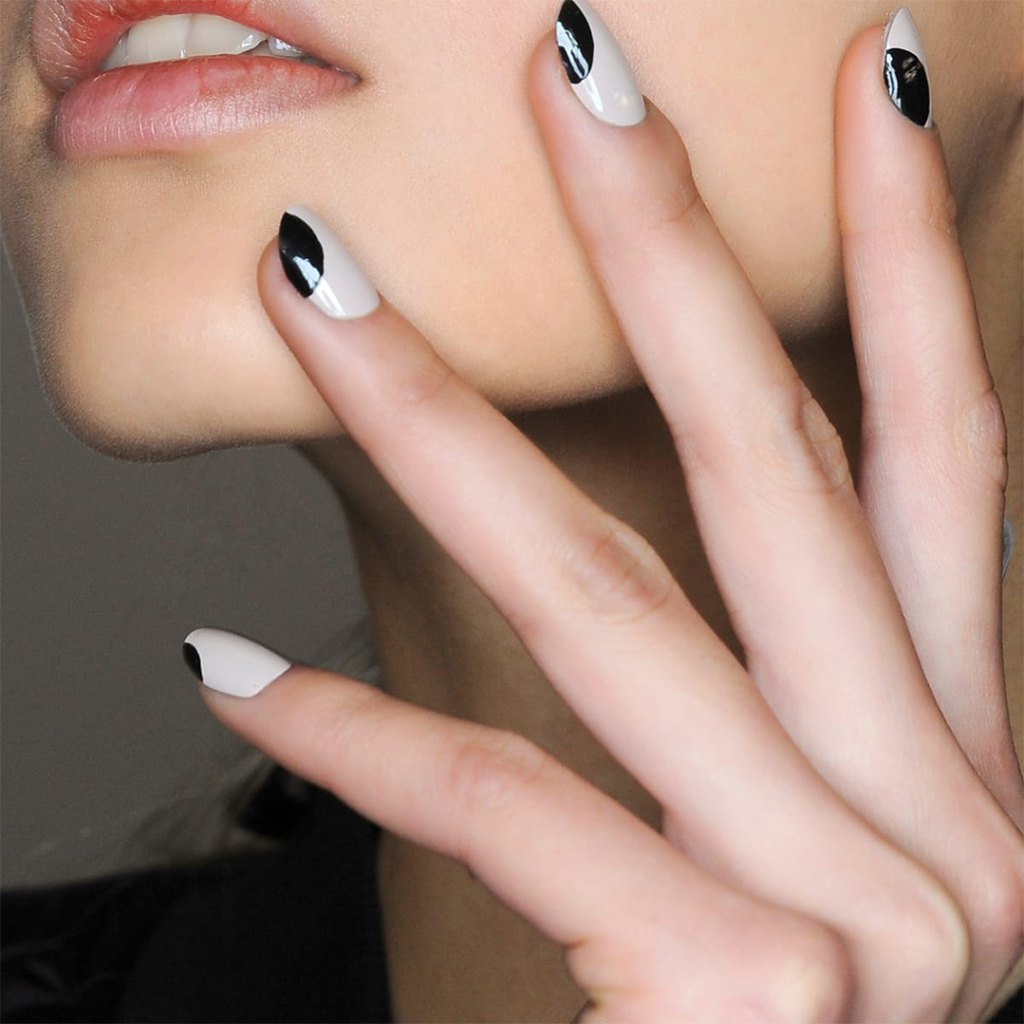
Nothing can be better than an exquisite gel manicure shining on your nails. You become the center of attraction at any party. But, while gel nails look beautiful, do you know that much preparation goes into making them gorgeous? It would be great to summarize the secrets required to get the best SNS gel nails in town. Your prayers have been answered as here are the seven steps to achieving fabulous SNS gel nails that can rightfully be referred to as neighbor’s envy and owner’s pride.

Seven Steps to Own a Successful SNS Gel Nails
Do not underestimate the prepping
You must have heard these words. If you fail to prepare well, you better be prepared to fail. This statement is true when it comes to gel manicures. We advise that you spend more than 40% of the time prepping your nail because it is crucial for an excellent manicure. The prepping starts with removing the existing nail polish traces, if any. Generally, they should come out if you file them. But stubborn nail polish residue requires acetone treatment.
Cutting and shaping your nails is critical because long nails tend to break and affect the manicure. So, we advise keeping the nail lengths to manageable levels. File the edges to make them smooth. Otherwise, they can entangle in your cloth fibers and damage the manicure. Push the cuticles gently and avoid snipping them because it can cause severe injuries that take time to heal.
Buff your nail surface properly to remove as much oil and debris as possible from the nails. Wipe the nails clean using an alcohol-based wiping solution. It disinfects the nails and ensures a healthy manicure.
Have as thin layers as possible
The beauty of gel nails is that you can have thin layers and still make the manicure beautiful. In comparison, the acrylic and dip powder manicures are thicker. So, we suggest having thin SNS gel polish layers. We advise not having more than one basecoat layer because it is not necessary to have more than one. Instead, a couple of layers of gel polish should do.
Similarly, you can have the topcoat layers according to your preferences. But, we suggest having as thin layers as possible. Secondly, we advise curing each nail polish layer before proceeding to the subsequent one.
Cap the free edges
Usually, the gel polish layers snap at the edges because people can find it challenging to paint at the edges. Therefore, we advise capping the free edges so that it does not leave any gaps. It is essential to cap the edge at every application stage to ensure consistency in thickness. Besides, capping the edges makes them smooth and thus, prevents entangling in your garments and damaging the manicure.
Remove wet polish
While curing the gel polish layers is critical to an excellent manicure, we suggest removing the wet polish traces, so they do not stick and make a mess everywhere. Therefore, proper curing is necessary. You can use a quality UV or LED lamp to cure the nails and ensure that you do not have any wet polish residue.
After-care is equally crucial
The best aspect of gel polish is that you can top it up whenever required. So, if the shine fades away after a week, you can have one additional polish layer and a couple of topcoats to restore the shine. Massaging the nails with cuticle oil can also restore the shine. Besides, it ensures your nails remain strong and moisturized. So, after-care is crucial.
Remove the gel the proper way
Gel polish can last for two to three weeks. However, the nail’s natural growth pushes the nail polish layer towards the edges. Therefore, we suggest removing the gel polish layer after 15 to 20 days and having a fresh one. Please follow the recommended procedure for removing the gel polish nails.
File the nails properly to remove as much gel polish coating as possible. Please do not file hard as it can damage the nail surface. Instead, use an acetone-based nail polish removal solution to remove the residual gel polish from your nails. Acetone can dehydrate your nails and skin. So, we advise massaging the nails with cuticle oil after the nail polish removal job. It is also better to give your nails a break for a week and allow them to recuperate naturally.
Always go for the best
While following the correct procedure is crucial, we suggest using high-quality products like SNS gel. These products do not contain toxic chemicals that harm your nail health.
Final Thoughts
We have discussed seven steps that ensure you get the best SNS gel nails in town. We advise you to follow the procedure to look at your glamorous best.